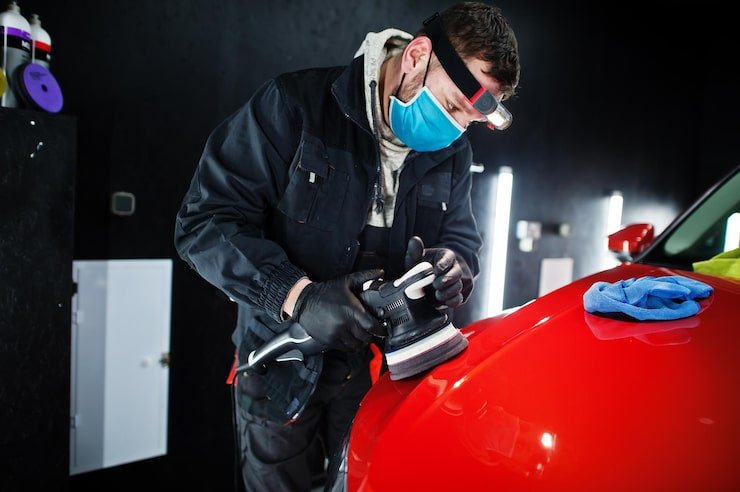
Small scratches, stone chips, and paint damage can make a vehicle look older than it really is. A car paint repair kit can provide many of the basic materials needed to restore minor damaged areas without immediately taking the vehicle to a body shop. Depending on the type and depth of the damage, a repair kit may include cleaning materials, primer, color-matched paint, clear coat, applicators, and finishing products. The most important step is choosing a repair method that matches the severity of the damage rather than treating every scratch in the same way.
What Is a Car Paint Repair Kit?
A car paint repair kit is a collection of products designed to help repair localized damage to a vehicle’s painted surface. These kits are generally intended for small chips, scratches, scuffs, and similar imperfections rather than extensive body damage.
The contents can vary considerably between kits. A basic kit might contain only touch-up paint and an applicator, while a more comprehensive system can include:
- Surface cleaner
- Wax and grease remover
- Sandpaper
- Primer
- Color-matched paint
- Fine brushes
- Touch-up pens
- Spray paint
- Clear coat
- Polishing compound
- Microfiber cloths
For small stone chips, a pen or brush may provide enough precision. Larger damaged areas may require an aerosol application for more even coverage.
Why Paint Repair Kits Are Useful
Minor paint damage is common on vehicles. Road debris, parking lots, shopping carts, branches, door edges, and everyday use can leave marks on otherwise well-maintained cars.
A small repair can provide several benefits.
Improve Appearance
Even a small scratch can become highly noticeable, particularly on dark-colored vehicles. Touching up the damaged area can make the imperfection considerably less visible.
Protect Exposed Surfaces
When damage reaches deeper layers of the finish, appropriate repair can help protect the exposed area from moisture and environmental contamination.
Save Time
A small localized repair can often be completed more quickly than arranging a full professional repaint.
Reduce Repair Costs
For minor cosmetic damage, a DIY repair may cost considerably less than professional bodywork.
However, DIY repair has limitations. Large dents, extensive rust, peeling paint, cracked bumpers, and major panel damage may require professional attention.
Understanding Different Types of Car Paint Damage
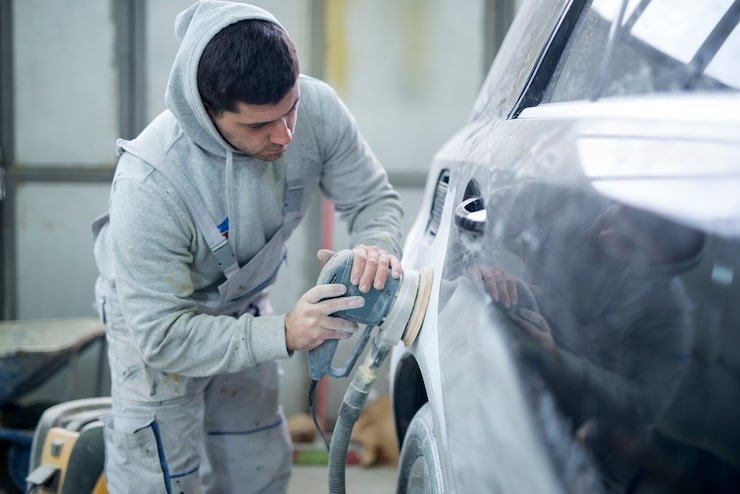
Before choosing a kit, identify how deep the damage is.
Modern vehicle finishes generally consist of several layers, including a clear protective coat, colored basecoat, primer, and the underlying metal or plastic substrate.
| Damage Type | What You May Notice | Typical Approach |
|---|---|---|
| Clear-coat scratch | Light mark, no major color loss | Polishing or light correction |
| Paint-level scratch | Color is visibly damaged | Touch-up paint |
| Deep scratch | Primer or substrate visible | Primer and paint |
| Bare-metal damage | Metal is exposed | Appropriate primer and paint |
| Large scrape | Broad damaged area | Aerosol or professional repair |
| Dent with paint damage | Surface is physically distorted | Body repair plus refinishing |
A simple fingernail check can provide a rough indication of scratch depth, although it should not replace careful visual inspection.
If a mark does not catch your fingernail and the color underneath remains intact, it may be primarily a clear-coat issue. Deeper scratches require more preparation.
How to Choose the Right Paint Color
Color matching is one of the most important parts of a successful repair.
Vehicle paint colors are not always accurately identified by simple names such as white, black, silver, or blue. Manufacturers use specific paint codes to identify particular formulations.
Look for the vehicle’s paint code before ordering a repair product. The code may be located on a manufacturer’s information label or plate, depending on the vehicle.
Using the correct factory code provides a much better starting point than selecting a generic color based only on appearance.
Even with the correct code, an older vehicle may have experienced fading or weathering. This can mean that newly applied paint appears slightly different from the surrounding original finish.
What Should a Quality Repair Kit Include?
A comprehensive kit should contain products appropriate to the type of damage being repaired.
Primer
Primer is useful when the scratch has reached an exposed substrate. It creates an appropriate foundation for subsequent paint layers.
Color-Matched Paint
This is the primary colored layer used to restore the appearance of the damaged area.
Clear Coat
Clear coat can restore gloss and provide a protective finish when required by the paint system.
Surface Cleaner
A clean surface is essential. Wax, grease, dirt, and oils can interfere with paint adhesion.
Applicators
Small brushes and pens provide precision for chips and narrow scratches. Aerosol products are more suitable when the repair covers a larger area.
Abrasives
Sandpaper can be used for certain repairs to smooth rough edges and prepare the surface. The appropriate grit depends on the stage of the repair.
How to Prepare Your Car Before Painting
Good preparation is often more important than the painting itself.
Start by washing the vehicle and allowing the damaged area to dry completely. The area should then be cleaned carefully to remove wax, grease, road film, and other contaminants.
If the damaged surface contains rust, loose paint, or rough edges, additional preparation may be necessary.
A basic preparation process includes:
- Wash the affected area.
- Dry the surface completely.
- Remove grease and wax.
- Inspect the depth of the damage.
- Remove loose material where necessary.
- Sand the damaged area when appropriate.
- Clean away sanding residue.
- Mask the surrounding surface.
Automotive touch-up guidance emphasizes that the repair area should be clean and free from contaminants before paint is applied.
Step-by-Step Paint Repair Process
Once the surface has been prepared, the repair can begin.
Step 1: Clean the Damaged Area
Use an appropriate automotive-safe cleaner to remove contaminants. Allow the area to dry completely.
Step 2: Prepare the Damage
If necessary, carefully smooth rough edges or remove loose paint. Do not unnecessarily sand large areas of undamaged paint.
Step 3: Apply Primer
If the repair exposes bare metal or another substrate that requires priming, apply the appropriate primer according to the product instructions.
Allow it to dry fully before continuing.
Step 4: Apply the Color
Apply the color-matched paint in controlled, thin layers rather than creating one thick blob.
Small repairs can often be handled with a fine brush or pen, while larger areas may require spray application.
Step 5: Allow Proper Drying
Do not rush between coats. Drying and curing times vary by product, temperature, humidity, and application thickness.
Step 6: Apply Clear Coat
If the paint system requires clear coat, apply it according to the manufacturer’s instructions.
Step 7: Finish the Surface
Once fully cured, some repairs can be lightly leveled and polished to improve the transition between the repaired area and the original finish.
Spray Paint or Touch-Up Pen?
The best applicator depends on the size of the damage.
| Applicator | Best For | Main Advantage |
|---|---|---|
| Touch-up pen | Tiny chips and narrow marks | Precise application |
| Fine brush | Small scratches | Controlled coverage |
| Bottle applicator | Localized repairs | Easy to use |
| Aerosol spray | Larger areas | More even coverage |
| Spray gun | Extensive refinishing | Professional-level control |
For a tiny stone chip, an aerosol can may provide unnecessary coverage. A fine applicator can give you much more control.
For a larger scratch or damaged bumper area, aerosol paint may be more practical because it can cover a wider area evenly.
How to Avoid a Raised Paint Blob
One of the most common DIY mistakes is applying too much paint.
A thick drop may cover the scratch but leave a visible raised area after drying.
Instead, build the repair gradually with thin applications. Allow each layer to dry according to the product instructions before deciding whether another layer is needed.
The goal is controlled coverage rather than simply filling the damage as quickly as possible.
Patience is particularly important with small repairs because an excessive amount of paint can create a new appearance problem.
When Should You Use Primer?
Primer is particularly important when deeper damage has exposed metal or another substrate.
If the scratch only affects the colored paint layer and the existing underlying surface remains intact, the requirements may be different.
The exact primer should also match the surface. Metal and plastic components can require different preparation methods.
For example, bumper repairs may require products designed specifically for plastic surfaces.
Always follow the instructions supplied with the paint system rather than assuming that one primer works for every material.
How to Repair Stone Chips
Stone chips are among the most common reasons people purchase touch-up products.
They can occur on the hood, front bumper, fenders, mirrors, and other forward-facing areas of a vehicle.
For a small chip:
- Clean the area thoroughly.
- Remove contaminants.
- Check whether metal or primer is exposed.
- Apply primer if required.
- Add small amounts of matched paint.
- Allow the paint to cure.
- Apply clear coat when appropriate.
- Finish and polish only after adequate curing.
Small chips generally require precision rather than large amounts of paint.
How to Repair Deeper Scratches
Deep scratches require more preparation than superficial marks.
If the scratch reaches primer or bare metal, simply painting over it may produce an uneven result.
The repair may require sanding, primer, color, and clear coat. If the underlying panel is dented or significantly distorted, painting alone will not correct the problem.
A deeper repair should therefore be evaluated carefully before beginning.
For substantial damage, professional refinishing can provide a more consistent result than attempting to blend a large repair area at home.
Common Mistakes to Avoid
Painting Over Dirt
Paint needs a clean surface. Dirt and grease can interfere with adhesion and create visible imperfections.
Choosing a Generic Color
A color that looks close in a store may look noticeably different on the vehicle.
Applying Too Much Paint
Thick layers can create raised edges, runs, or uneven texture.
Skipping Necessary Primer
If the substrate requires primer, skipping that stage can compromise the repair.
Rushing the Drying Process
Touching, sanding, polishing, or washing the repair too early can damage the finish.
Painting in Poor Conditions
Temperature, humidity, dust, and direct sunlight can influence application and drying. Follow the product’s recommended conditions.
When a DIY Kit Is Not Enough
DIY paint products are best suited to localized cosmetic repairs.
Professional assistance may be more appropriate when:
- The panel has a large dent.
- Rust extends beyond the original damaged area.
- Paint is peeling over a large section.
- The bumper is cracked.
- Multiple panels are damaged.
- A seamless factory-style finish is required.
- The paint color is difficult to blend.
- The underlying metal has been significantly damaged.
A professional body shop has specialized equipment and controlled conditions that can produce more consistent results for complex repairs.
How to Maintain a Repaired Area
Once the repair has fully cured, normal vehicle care can help preserve the finish.
Wash the vehicle regularly using suitable automotive cleaning products. Avoid aggressive scrubbing directly over a recently repaired area.
When polishing or waxing, make sure the repair has fully cured according to the product’s instructions.
Inspect the area periodically. If the repair begins to deteriorate, addressing the problem early can prevent it from becoming more extensive.
Key Points to Remember
- Identify the depth of the damage before choosing a repair method.
- Use the manufacturer’s paint code whenever possible.
- Clean and degrease the surface before painting.
- Use primer when the repair system requires it.
- Apply paint in thin, controlled layers.
- Choose a pen or brush for small chips and narrow scratches.
- Consider aerosol paint for larger localized areas.
- Allow sufficient drying and curing time.
- Use clear coat when required by the paint system.
- Seek professional help for extensive body or paint damage.
Final Thoughts
A DIY paint repair can be a practical way to improve the appearance of minor vehicle damage. The key is choosing the right materials for the specific problem and taking time to prepare the surface correctly.
Small chips and scratches can often be addressed with precision applicators, while larger damaged areas may require spray products and a more detailed preparation process. Accurate color matching is particularly important because even a small shade difference can make a repair stand out.
The best results come from patience. Clean the surface carefully, use the appropriate primer and paint, apply thin layers, and allow every stage to cure properly. If the damage involves large areas, significant rust, dents, or structural problems, professional repair is usually the better option.
A well-planned repair can make minor imperfections much less noticeable while helping maintain the overall appearance of the vehicle.
Frequently Asked Questions
What is the best type of kit for a small car scratch?
For a small scratch or stone chip, a kit containing color-matched paint, a fine applicator, and clear coat may be sufficient. If the scratch reaches bare metal, an appropriate primer may also be necessary.
How do I find my car’s paint color code?
The location varies by manufacturer and model. Look for a vehicle information sticker or plate, commonly found in areas such as a door jamb, under the hood, or another manufacturer-designated location. The owner’s documentation may also provide useful information.
Can a paint repair kit fix deep scratches?
It can help with some deep scratches, particularly when the damage is localized and the underlying panel is undamaged. However, extensive scratches, dents, rust, or damaged panels may require professional refinishing.
Should I use a paint pen or spray paint?
A paint pen is generally more suitable for tiny chips and narrow marks, while spray paint can provide better coverage for larger areas. Choosing the correct applicator for the size of the damage helps improve control and the final appearance.
How long should I wait before washing a repaired area?
The required curing time depends on the paint and clear-coat products used. Always follow the manufacturer’s instructions and avoid washing, polishing, or aggressively handling the repaired area until the products have adequately cured.



One thought on “Car Paint Repair Kit: A Complete Guide to Fixing Scratches and Paint Damage”